Ocean Shore Acrylic Pouring: Beautiful Texture + Dutch Pour
This time, I want to pay tribute to summer and create a truly summery ocean shore painting in this new Ocean Shore Acrylic Pouring Abstract Art Tutorial.
For this pour painting, I want to capture this energy, the tropical color of the water, and some really sunny shore of the ocean.
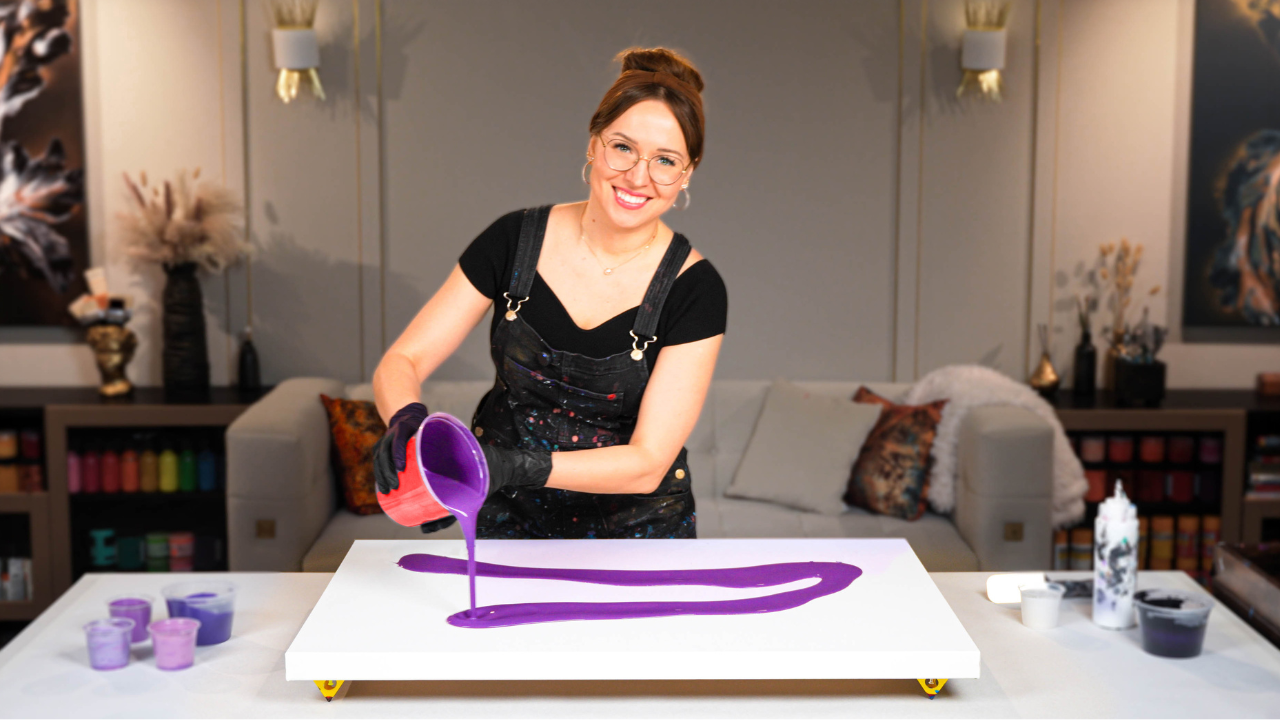
I'm working on a diptych. I have already created a texture. I used a modeling paste by Pebeo to create it, and I mixed it with a little bit of white paint as well. So after I added texture, it dried for about 10 days.
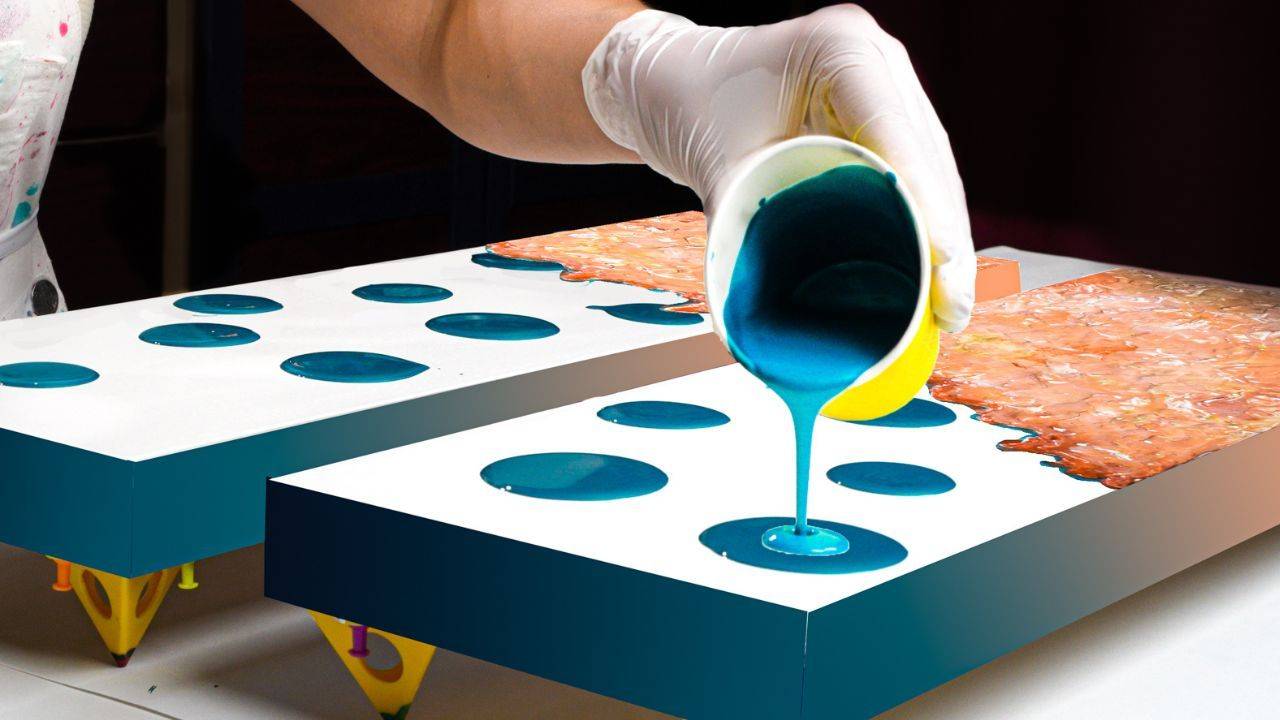
For the second part of this fluid painting, I aim to create a realistic ocean shore. It's going to be very interesting to work on a diptych, on longer panels. And I have prepared four colors. So white and three shades of turquoise from lightest to darkest.
The secret message for this abstract painting is "New Beginnings". For this textured ocean artwork, I don't mind if my paint gets over the texture, because I'll be painting over it anyway. But I'll still try to avoid getting too close to it. Additionally, I'm going to create a white border because I intend to achieve a foamy effect in this acrylic painting, so I might as well use it as a border right away. So let's see how such an abstract art idea turns out.
And without further ado, let's get started:
Acrylic Pouring Recipe Used
Over the years, I’ve fine-tuned my own paint-mixing method to get the balance just right — smooth enough to flow, thick enough to layer, and reliable enough to bring out cells and lacing without any surprises. That’s the recipe I used here, and honestly, I wouldn’t pour without it. You can learn more about it inside my Fluid Art Mastery course.
Well, here this ocean shore painting is in its finest beauty. I covered the water part of this mixed-media painting with epoxy resin for a glossy, glass-like finish. I think it works perfectly for ocean-inspired art.
Plus, it really makes this iridescent blue-green pop even more. And I love that the shore part of this textured painting, which was created with texture and multiple layers of paint, has a lot more resemblance to the rock texture, and definitely looks more interesting this way. I think there is a great deal to explore about this combination of painting techniques.
I hope you enjoyed this acrylic painting tutorial, and I look forward to hearing from you.
Happy creating!
Colorfully yours,
Olga Soby
Struggling with paint that’s too runny, too thick, or just not giving you the reaction you want?
You’re not alone — consistency is the #1 challenge I see for fluid artists. That’s exactly why I put together my free Consistency Cheat Sheet. It’s a quick and practical guide that shows you how to mix your paints for different techniques, so you can finally pour with confidence and get results you love.