Ocean Textured Acrylic Pouring - New Supply And ONLY 4 Colors!
Welcome to the new Ocean Textured Acrylic Pouring abstract art tutorial with new supply and ONLY 4 Colors!
In today’s fluid art tutorial, I’m doing something a little different – and I’m so excited to share it with you.
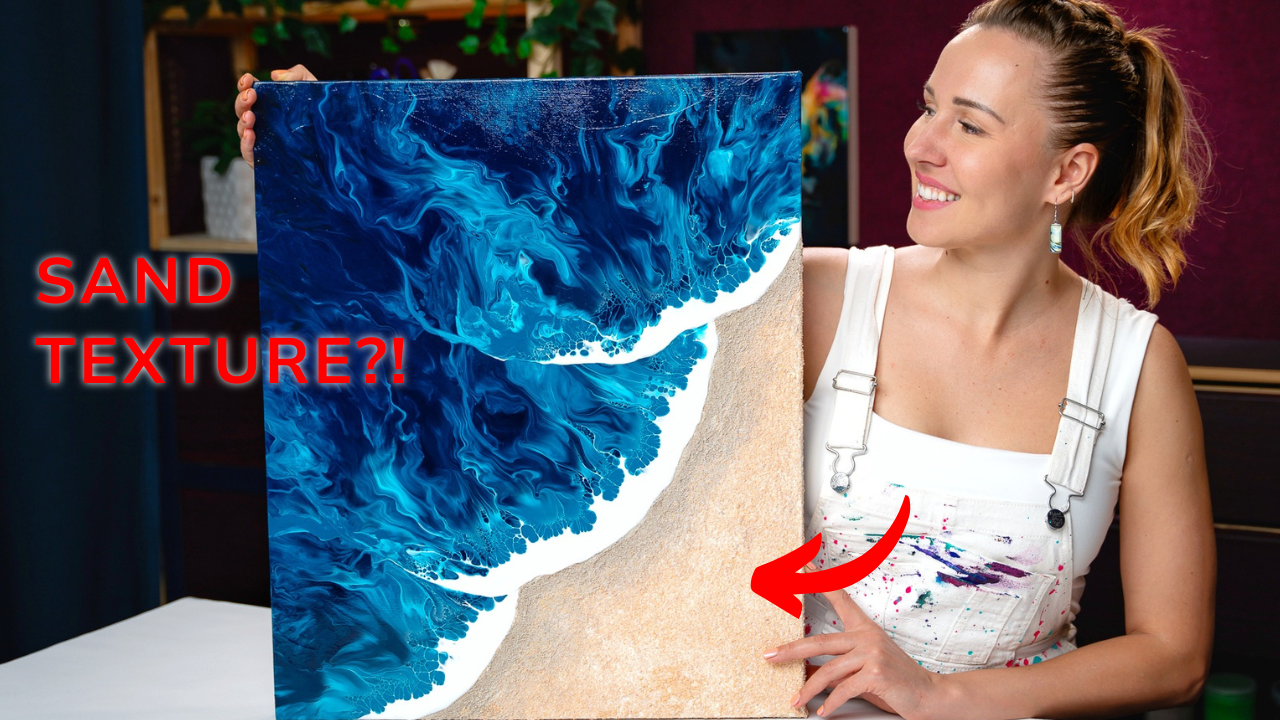
This painting, titled “Serenity”, combines two of my favorite things: the soft, flowing beauty of acrylic pouring and the tactile, sculptural quality of texture mediums. It’s a shore-inspired abstract painting, with waves and sand brought to life through a mix of fluid color gradients, delicate cells, and real sand texture gel applied directly to the canvas.
Watch the Full Acrylic Pouring Process:
See how I created textured waves and combined them with a Dutch pour-style blowout for stunning ocean movement.
Color Palette and Techniques
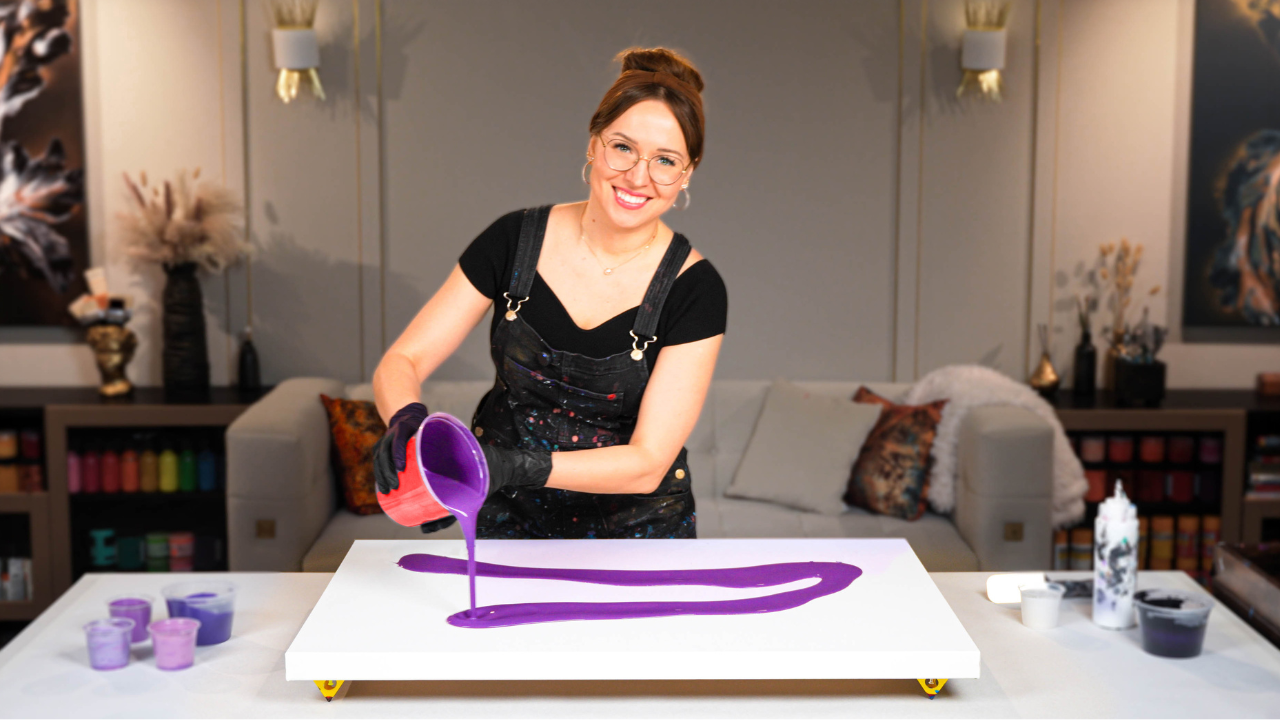
For this ocean-inspired pour, I kept my color palette very minimal – all variations of phthalo blue, phthalo green, and titanium white, mixed in different proportions to create a soft gradient from deep turquoise to light foam.
I poured and blew out the paints in three flowing wave sections, following the direction of the pre-textured wave ridges I created earlier on the canvas. I also added a hint of black in the depth of the ocean section to give it extra richness.
To complete the piece, I added real sand texture gel to the beach section, mixed with acrylics to give it a natural tone variation. Some sand was mixed with white for the dry areas, and some was blended with a little brown and yellow to resemble a wet shoreline.
Acrylic Pouring Recipe Used
For this painting, I mixed all my colors using my signature Soby Recipe – the same one I teach inside Fluid Art Mastery. It’s a water-based formula (around 80%) enhanced with a few artist-grade mediums that help create stunning cells, improve the drying process, and ensure the artwork stays archival, without using non-permanent additives like Floetrol, PVA, or silicone. This consistency is what allowed the soft blending and gorgeous cells in the waves to shine.

This painting was such a joy to create – and also a real challenge. Combining sculptural texture with the unpredictable beauty of fluid acrylic pouring opened up a whole new creative direction for me.
I’m already dreaming up more pieces in this style!
Let me know what you think of this combination of texture and Dutch pour-style blowout – I’d love to hear if you’ve ever tried adding sculptural elements to your own fluid art practice.
Colorfully yours,
Olga Soby
Struggling with paint that’s too runny, too thick, or just not giving you the reaction you want?
You’re not alone — consistency is the #1 challenge I see for fluid artists. That’s exactly why I put together my free Consistency Cheat Sheet. It’s a quick and practical guide that shows you how to mix your paints for different techniques, so you can finally pour with confidence and get results you love.