Ocean Transformation Acrylic Pouring – Turquoise Fluid Art
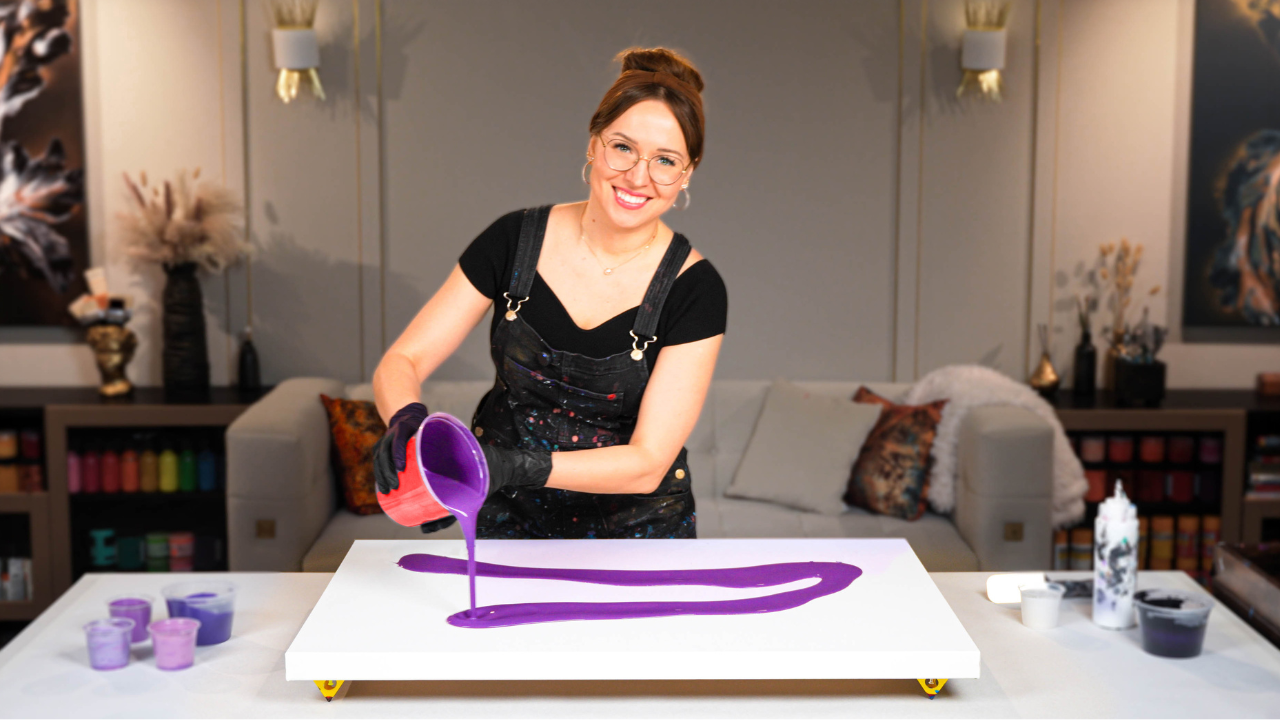
This time, I was inspired by the shifting tides and layered beauty of the sea, and set out to create an ocean acrylic pour painting that feels both light and powerful. I’m working on a 14 x 18-inch canvas and using one of my favorite acrylic pouring techniques to bring this vision to life.
🎨 Secret message of the painting: “Maritime Poem.”
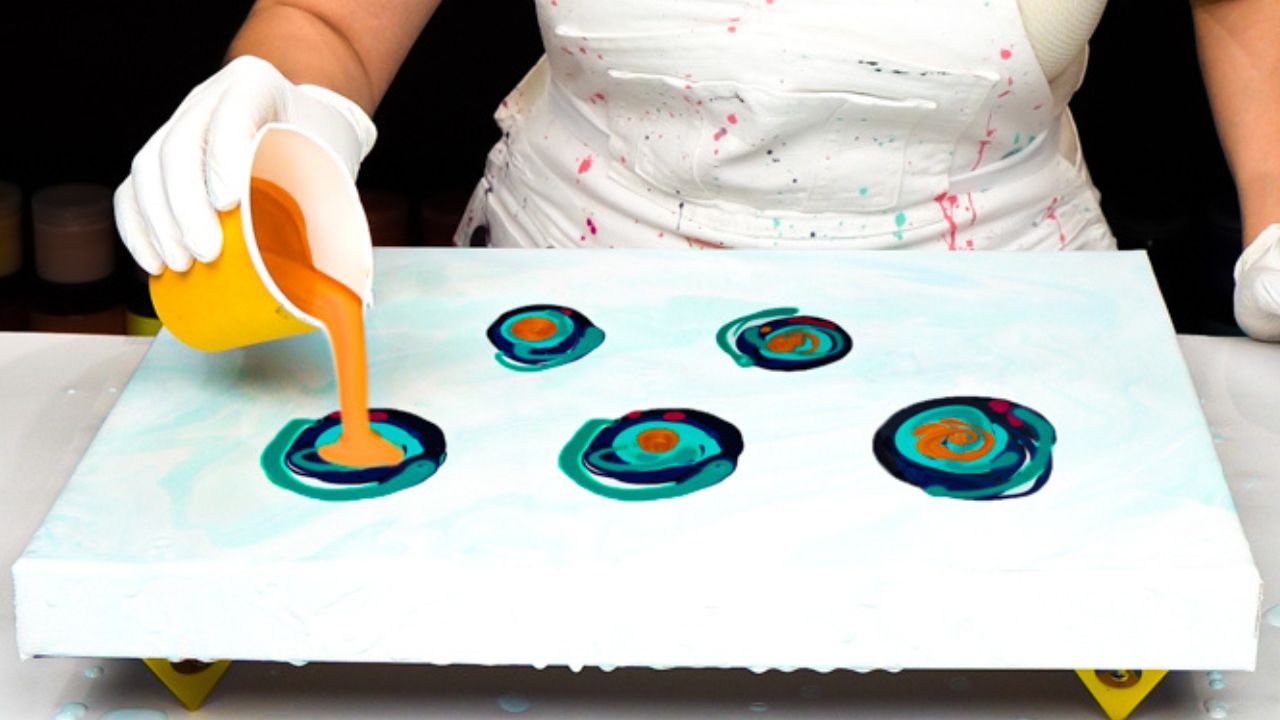
For the base, I went with an extremely soft color palette: two shades of turquoise, both mixed with a generous amount of white. The result? A delicate pastel background that mimics the feeling of a shallow shoreline — gentle, luminous, and full of movement.
But I didn’t want to stop there.
To create contrast and visual depth, I added darker ocean tones to my blowout flow:
- Prussian blue (a rich, deep blue-black)
- Greenish blue (a stunning transition tone that balances the palette)
Each color was added in puddles and blown out individually — a technique that gives me greater control and helps preserve the integrity of each shade. I used my Dutch pour technique to create the sweeping ocean forms, keeping the overall composition loose and organic.
Acrylic Pouring Recipe Used
To mix my paints, I used my signature Soby Recipe — the same one I teach inside the Fluid Art Mastery course.
This water-based formula (about 80%) is enhanced with just the right amount of professional artist mediums. It’s archival, dries beautifully, and avoids issues like cracking, crazing, or discoloration that can happen with non-archival pouring recipes (like those made with Floetrol, PVA, or silicone). Best of all, this recipe helps achieve the stunning lacing and cells you’ll see throughout this painting, especially in the bold ocean waves.

This painting evolved so much throughout the process, and I followed my creative intuition the entire way. I made changes as I went, added bold golden veins after the base had dried, and brought everything together into a composition that feels bold, dramatic, and alive.
This is one of those pieces that reminded me why I fell in love with acrylic pouring in the first place: for its freedom, movement, and the little surprises that emerge with each new layer.
If this tutorial sparked something in you, make sure to check out my Fluid Art Mastery course, where I teach the exact techniques, paint mixing process, and creative flow that go into my most popular artworks.
Colorfully yours,
Olga Soby
Struggling with paint that’s too runny, too thick, or just not giving you the reaction you want?
You’re not alone — consistency is the #1 challenge I see for fluid artists. That’s exactly why I put together my free Consistency Cheat Sheet. It’s a quick and practical guide that shows you how to mix your paints for different techniques, so you can finally pour with confidence and get results you love.