Your Journey in Fluid Art – How to Find Your Style Beyond Tutorials
If you’ve followed me for a while, you know I’m in love with fluid art – but you also know I can’t resist taking it further.
I specialize in combining fluid art with embellishments, enhancements, and techniques that make my paintings more unique… more me.
And whenever I post a new video, there’s always someone who says, “I wish you had stopped there,” or “It was perfect after the first stage – then you did too much.”
Of course, there are also people who love my additions and find them inspiring.
The truth is… you can’t please everyone.
And as an artist, you shouldn’t try to. You have to trust yourself.
From Pure Fluid Art to My Own Style
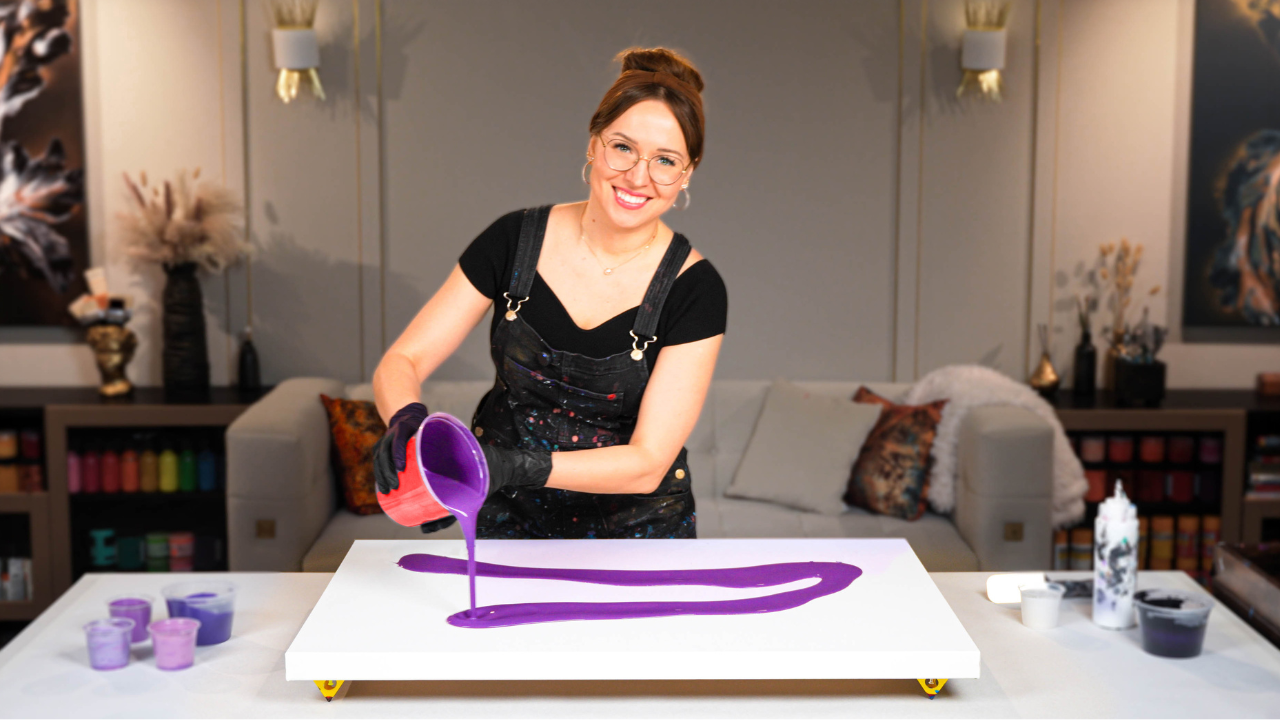
When I first started, I was only interested in fluid art. I was fascinated by the unpredictability of the paint, the way colors swirled and cells formed.
But art is diverse. Imagination has no limit.
Over time, I began exploring ways to push the boundaries of what fluid art could be. I experimented with textures, metallics, spray effects, and hand-painted details.
That’s how my style was born – not overnight, but from years of trying things, failing, succeeding, and trying again.
If you’re a beginner, there’s nothing wrong with following someone else’s process step-by-step. This is how we learn. No need to reinvent the wheel when you’re just trying to master the basics.
But there might come a point when you'd want to expand.
You start asking yourself, What if…?
What if I correct this shape with a brush?
What if I add more gold here?
What if I bring in some texture?
Those little what-ifs are where your personal style begins. And yes, sometimes your “what if” will ruin the painting. Trust me – I’ve had plenty of those moments.
But here’s the thing: we learn much faster from failures than from successes. And each attempt, whether it works out or not, brings you closer to the art only you can create.
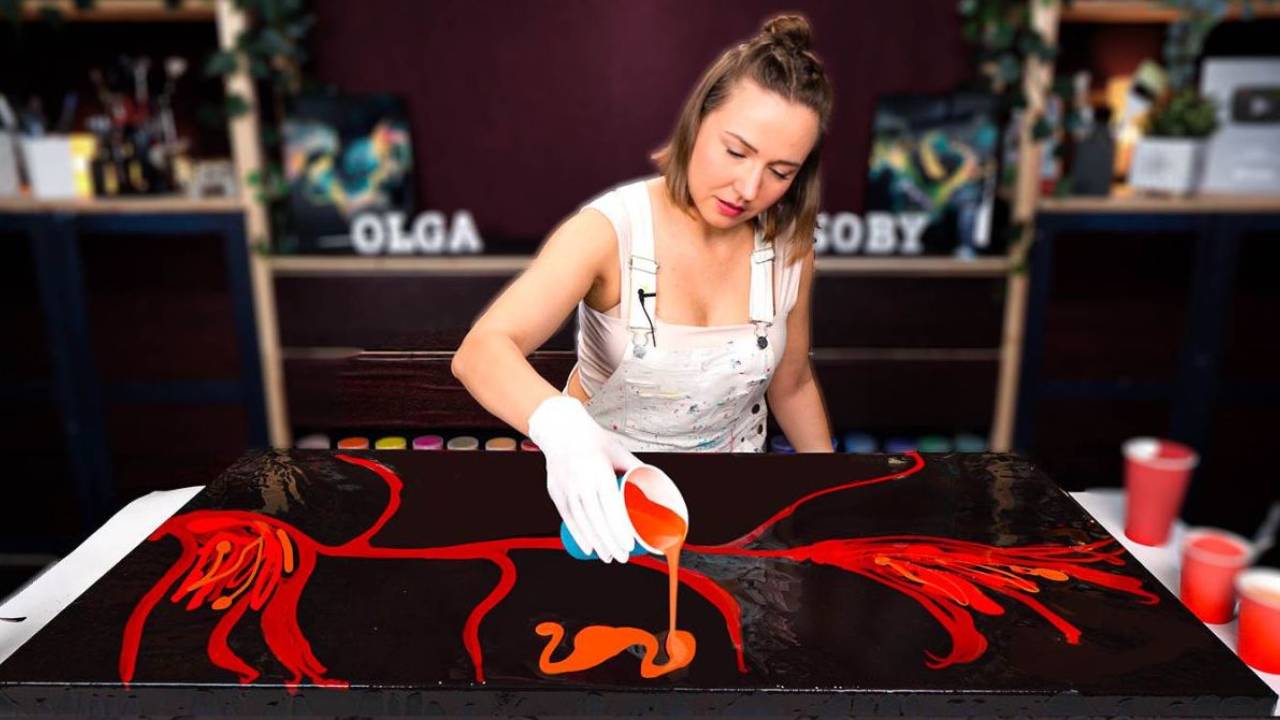
My painting “Midnight Dance” is a perfect example. It began as a bold, red-and-burgundy blowout on a dark base – powerful, passionate, and already complete in its own right.
But my instincts told me to keep going. I added textured outlines, soft brush enhancements, and golden accents. I built layer upon layer, giving the piece movement, depth, and glow.
Not everyone will agree with where I took it. But to me, it’s exactly as it was meant to be.
Here’s the full process so you can see the journey for yourself:
If you’ve been curious about how I create those accents and details, that’s exactly what I teach in my Embellishment Mastery course.
It’s where I share my complete process for transforming a good painting into a show-stopping one. If you’re ready to expand your skills beyond pouring, this course will open up a whole new world of possibilities.
5 Tips for Artists Ready to Grow
- Don’t rush the process: some paintings take me weeks (or months) to complete. Let each layer fully dry before adding another.
- Always have extra paint prepared and save the fluid colors you've used in the painting – it gives you the freedom to adjust or fix areas without panic.
- Work with intention, not impulse. Follow your “what if” moments, but think through the balance of composition, color, and texture.
- Study light interaction: metallics, iridescents, and varnishes all behave differently depending on the lighting.
- Document your process: photos or videos help you analyze what worked, what didn’t, and give you material for sharing your artistic journey with others.
Your Turn
So, what’s your “what if” today?
If you’ve been staying inside the safety zone of replicating, maybe it’s time to step outside and explore. Try that idea that’s been lingering in the back of your mind. Add that color. Change that shape.
It might not work. It might be magical. Either way, you’ll grow.
And that’s the point.
Colorfully yours,
Olga Soby
Struggling with paint that’s too runny, too thick, or just not giving you the reaction you want?
You’re not alone — consistency is the #1 challenge I see for fluid artists. That’s exactly why I put together my free Consistency Cheat Sheet. It’s a quick and practical guide that shows you how to mix your paints for different techniques, so you can finally pour with confidence and get results you love.