Northern Light – Glow-in-the-Dark Aurora Acrylic Pouring Tutorial
Capturing the ethereal beauty of the Northern Lights in fluid acrylic is a dream I’ve had for a while—and this time, I finally took it to the next level with glow-in-the-dark gel.
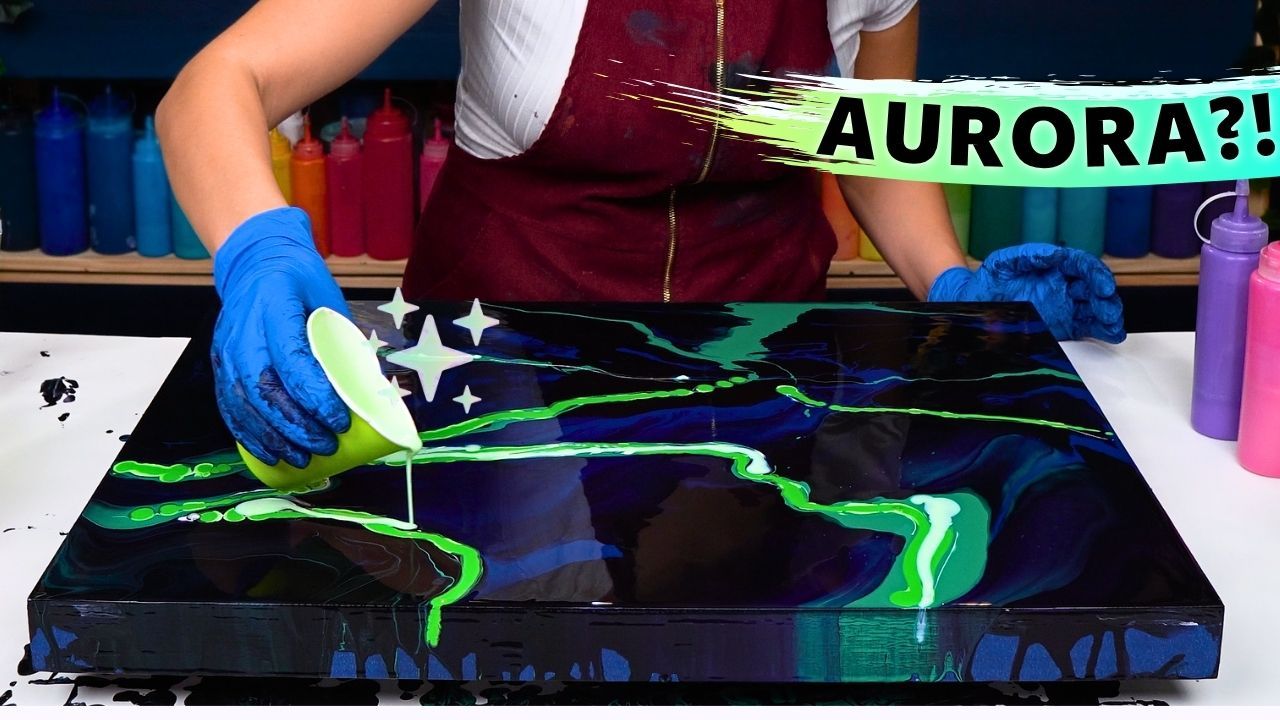
In this Northern Light pour painting, I set out to recreate the glowing dance of Aurora Borealis using both fluid motion and light-reactive materials. This painting is more than color and flow—it's an experiment with new phosphorescent gel mediums designed to glow once fully dry.
Watch the full tutorial here:
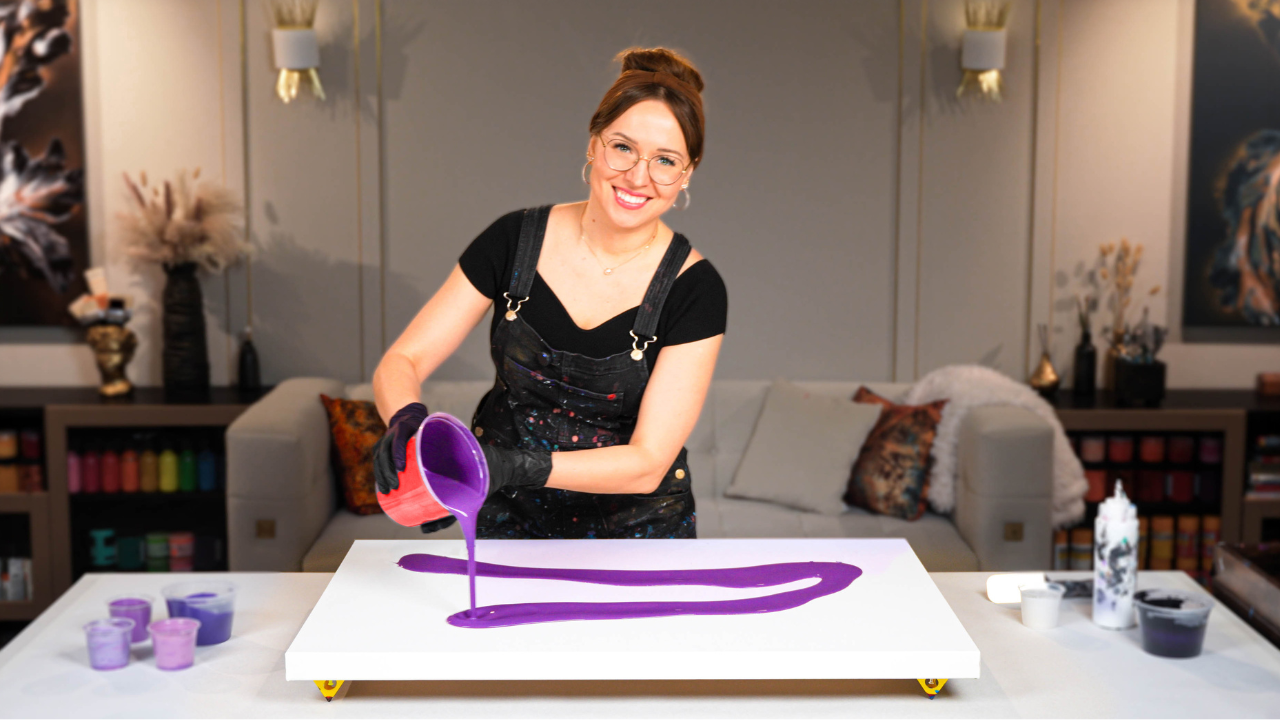
For the glowing areas, I used yellow and green phosphorescent gels (not paints), which dry clear but illuminate in the dark. To support those effects, I layered a rich base of greens, purples, and pinks to give this aurora-inspired artwork both depth and contrast, even in daylight.
On the base, I let gravity and intuition guide the flow, allowing the colors to shape their own version of the northern sky. The secret message behind this painting is “Aurora Bliss”, and I wanted every detail to feel dreamlike, mysterious, and uplifting.

Acrylic Pouring Recipe Used
This painting was created with the signature Soby Recipe I teach inside Fluid Art Mastery. This water-based formula (approximately 80%) is designed to preserve the vibrancy of your colors and allow for layering without the need for non-archival additives like silicone or Floetrol. It supports smooth blending and glowing transitions, helping you achieve fine details like those seen in aurora lights and tree silhouettes. If you want professional, gallery-quality results with consistent drying, this is the method I recommend and personally use for all of my fine art work.
The final painting is now sealed with glossy varnish, enhancing both color depth and that magical, glowing finish. I added delicate tree silhouettes and snowy reflections that catch the light during the day, and come to life at night. This piece is like a winter fairy tale captured in fluid art form.
I hope this glowing experiment inspires your own journey with light, color, and movement in acrylic pouring.
Colorfully yours,
Olga Soby
Struggling with paint that’s too runny, too thick, or just not giving you the reaction you want?
You’re not alone — consistency is the #1 challenge I see for fluid artists. That’s exactly why I put together my free Consistency Cheat Sheet. It’s a quick and practical guide that shows you how to mix your paints for different techniques, so you can finally pour with confidence and get results you love.