Violet Shades, Gold Leaf & Pouring Technique - Next Level Fluid Art
Welcome to the new Violet Evolution Acrylic Pouring - Abstract Art tutorial. I continue experimenting, I combine the fluid acrylic techniques with some texture on my canvas.
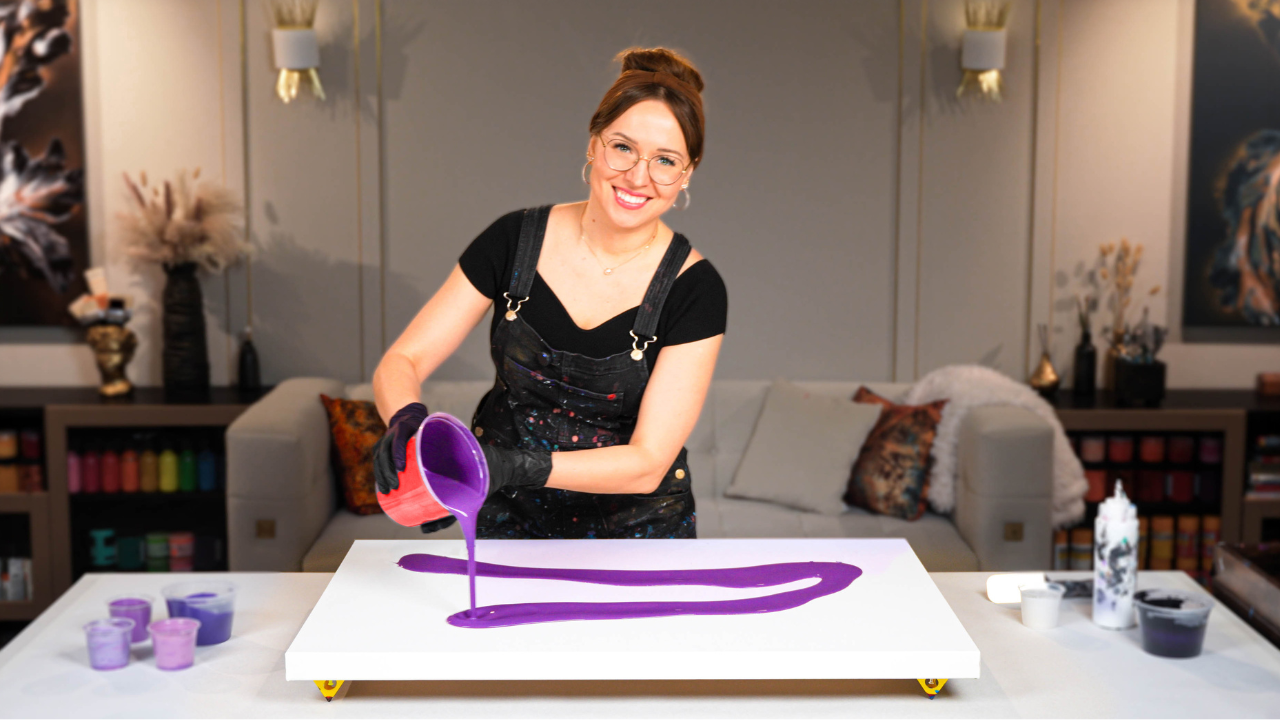
In this fluid acrylic painting lesson, I have a 20-by-20-inch wood panel, and I have created a very cool and interesting element in the center. The plan is to create a fluid art design, and once it's dry, add some embellishments and gold. "Evolution" is a secret message for this acrylic painting, and let's pour it right out.
This is so cool to pour paint over the texture, just the way that it reacts, the way that it blends, there is something super special about it.
And the first color I have prepared for this pour painting is Prussian blue. I want this fluid painting to be very dark and deep with primarily black-blue and violet shades. So, this is the color palette that I mainly want to use. The next color is cobalt violet. Then I want to use turquoise mixed with a little bit of gray. And a little bit of warmer oriental violet.
For some highlights, I'm using this Venetian pink, but this color is like super opaque, and super bright, so I don't want to have a lot of it, only a few sprinkles.
So let's see how such an abstract art idea turns out. And without further ado, let's get started:
Acrylic Pouring Recipe Used
The beautiful cells and lacing you see in this painting? That’s all thanks to my custom pouring recipe, which I mix fresh for every painting. It allows the colors to move freely without overmixing, while keeping the final result smooth and crack-free — and it’s the same approach I teach inside Fluid Art Mastery.
Well, my friend, here is this acrylic painting in its finest beauty. I am very happy with this purple painting.
You know it's very sophisticated, and maybe a little mystical, and the golden is so hot. I love how all these lines really connect in the center. And, honestly, I feel that I'm on to something very special with this combination of painting techniques and mediums.

I have covered the texture part, the middle part of this abstract artwork, with a bit of epoxy. I think it creates a very cool chic effect. And for the rest of the pour painting, I just use the gloss varnish because I really wanted to keep this beautiful, mild texture of all the cells and lines in this flow.
I hope you enjoyed this acrylic painting tutorial, and I look forward to hearing from you!
Colorfully yours,
Olga Soby
Struggling with paint that’s too runny, too thick, or just not giving you the reaction you want?
You’re not alone — consistency is the #1 challenge I see for fluid artists. That’s exactly why I put together my free Consistency Cheat Sheet. It’s a quick and practical guide that shows you how to mix your paints for different techniques, so you can finally pour with confidence and get results you love.