Re-Pouring on a Used Canvas – Tips and Techniques for Success
Every artist knows the feeling—sometimes, a painting just doesn’t turn out the way we envisioned. It happens to the best of us, and it can be tempting to throw that canvas out and start fresh.
But wait!
Before you give up on that canvas, consider reusing it for your next project. Not only is it environmentally friendly, but it also offers a unique challenge that can help you grow as an artist.
After my last canvas preparation newsletter, I received so many requests to share tips on how to successfully reuse a canvas that didn’t work out the first time. So, here’s everything you need to know about giving your old canvas a second life.
Can You Reuse a Failed Canvas?
Absolutely! But Here’s What You Need to Know
Reusing a canvas is not as simple as just pouring new paint over it.
There are a few key issues to be aware of, and with the right techniques, you can avoid common pitfalls like cracking, unwanted texture, and sagging.
Potential Problem #1: Cracking and Crazing
One of the biggest challenges when re-pouring on a used canvas is the risk of cracking and crazing in the new layer of paint.
This happens because the initial layer might still contain some moisture, even if it feels dry to the touch. When this moisture tries to escape through the top layer, it can cause unsightly cracks and warps.
How to Minimize Cracking:
-
Allow For a Proper Drying Time: Make sure the original painting has dried for at least 4 weeks. This allows the paint to cure fully, reducing the risk of moisture affecting your new layer.
-
Control Your Environment: Proper environmental conditions are crucial when re-pouring over a used canvas. If the ambient temperature is too high or humidity too low, the surface of your new pour can dry too quickly, trapping moisture inside.
This is particularly problematic with a used canvas because the original paint layer acts as a barrier, preventing the moisture in the new layer from escaping through the back of the canvas.
To avoid this, work in a moderate environment where temperatures are stable (below 26 C) and humidity is balanced (around 30% or more).
TIP: If you’re working in a particularly dry area, consider covering your painting with a box or plastic tent and placing a glass of water underneath. This simple trick helps to maintain a higher humidity level, slowing down the drying process and allowing moisture to escape gradually from the surface.
Additionally, be mindful of air circulation. Strong air currents, like those from fans or open windows, can accelerate drying in an uneven manner, leading to cracks.
-
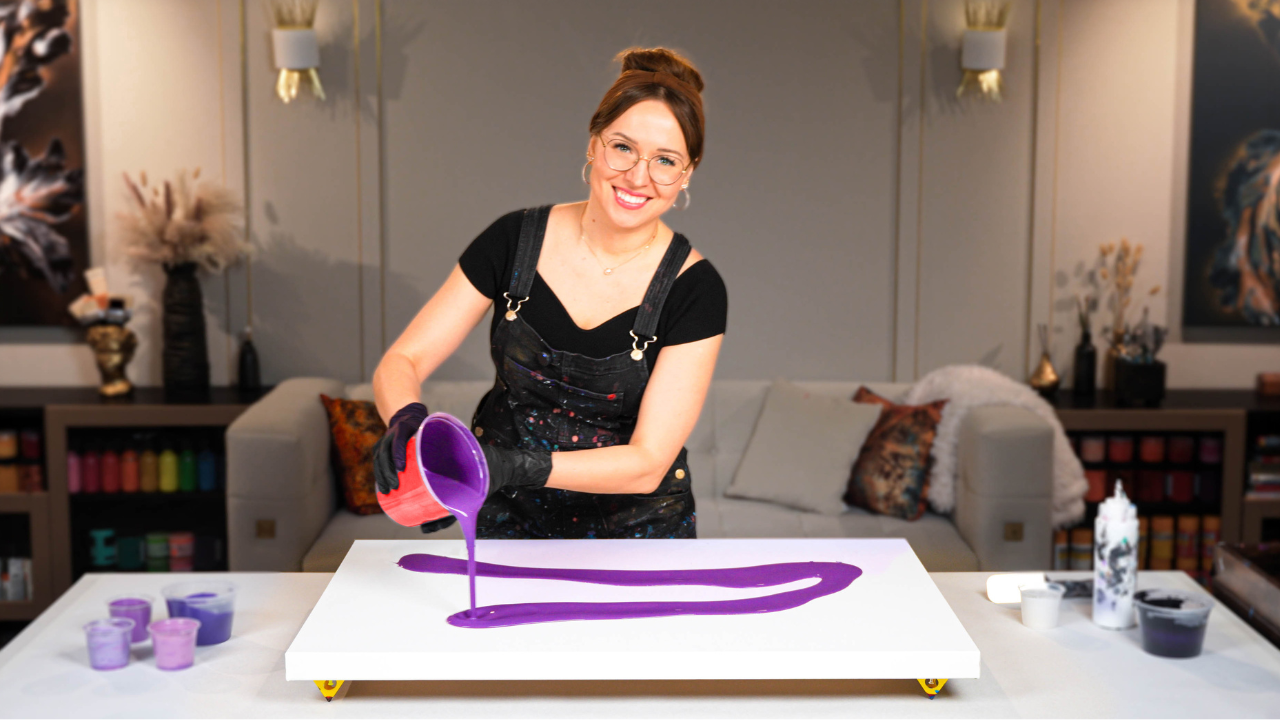
Use a Reliable Pouring Recipe: The quality of your pouring medium matters. Using a tried-and-true recipe, like the Soby Recipe from my Fluid Art Mastery course, can significantly lower the risk of cracking, even when working on a used canvas.
- Prime your Canvas with a few layers of Acrylic Gesso.
Potential Problem #2: Texture Issues
If the original painting had a lot of texture—waves, lines, or thick areas of paint—those textures might show through your new layer.
And most of the time, it doesn't look pretty.
Solution:
- Smooth It Out: Run your hand over the canvas to feel for any bumps, lines, or ripples. If you find texture, sand down the entire surface (use sandpaper grit 220 for mild texture or 120 for heavier texture).
- Gesso: After that, apply a few layers of gesso and sand again until smooth (start with 220 grit and finish with 400 or 600 grit for a smoother surface).
- Let dry: Let the final layer of gesso dry for 48 hours before re-pouring. This will give you a fresh, smooth surface to work on.
Potential Problem #3: Sagging Canvas
Another issue you might encounter is sagging, especially on larger canvases.
The weight of the original paint can stretch the canvas, causing it to loosen. A loose canvas can lead to paint pooling in the center, resulting in cracks and crazing.
How to Tighten a Sagging Canvas:
- Water Spritz: Lightly spray the back of the canvas with water and allow it to dry. This can help tighten the canvas fibers. You can use your hand to spread the water at the back of the canvas.
TIP: If you have wrinkles in the corners, you can use a pallet knife to push and spread water into the corners, but be sure not to push too hard at the very corner and possibly poke a hole in the canvas (the credit for this awesome tip goes to Brenda Nevue from Frame & Art Center) - Use Wooden Wedges: If your canvas has a stretcher with adjustable wedges, tap them into the corners to tighten the canvas further. This method isn’t available for all canvases but is highly effective when possible.
Re-Pour or Not to Re-Pour?
As you can see, re-pouring on a used canvas is entirely possible, although it requires some patience and preparation.
But, if you’re not up for the extra effort, consider using this failed painting as your "practice canvas" instead. It’s a great way to experiment with new techniques and effects without the pressure of creating a masterpiece.
I personally have several of those "practice canvases" that I reuse only to experiment, try out new techniques, or test color palettes.
Canvas Under Cover
If there’s a specific area on your canvas that you don’t like, but the rest looks great, don’t feel like you have to abandon the entire piece.
Consider touching up or painting over that section, or even adding an embellishment (such as a stencil design) to cover the particular area you’re unhappy with.
In my Embellishment Mastery online course, I share many advanced embellishment techniques that you can use to elevate your paintings and potentially hide imperfections. Check it out!

Final Tip
* If you’ve just finished a fluid painting and immediately know it’s not working out, scrape it off right away without letting it dry.
By doing this, you can avoid the hassle of prepping a used canvas later, and you can save the scraped paint for future use. Your canvas will be ready for a second chance almost immediately.
Remember, every canvas—even one that didn’t work out initially—is an opportunity to learn and grow as an artist. With the right approach, you can turn your “failed” canvas into something truly beautiful (or, worst case scenario, you'll learn what not to do the next time😉).
Stay tuned for updates and more exciting tutorials!
Colorfully yours,
Olga Soby
Struggling with paint that’s too runny, too thick, or just not giving you the reaction you want?
You’re not alone — consistency is the #1 challenge I see for fluid artists. That’s exactly why I put together my free Consistency Cheat Sheet. It’s a quick and practical guide that shows you how to mix your paints for different techniques, so you can finally pour with confidence and get results you love.